


Hi Folks,
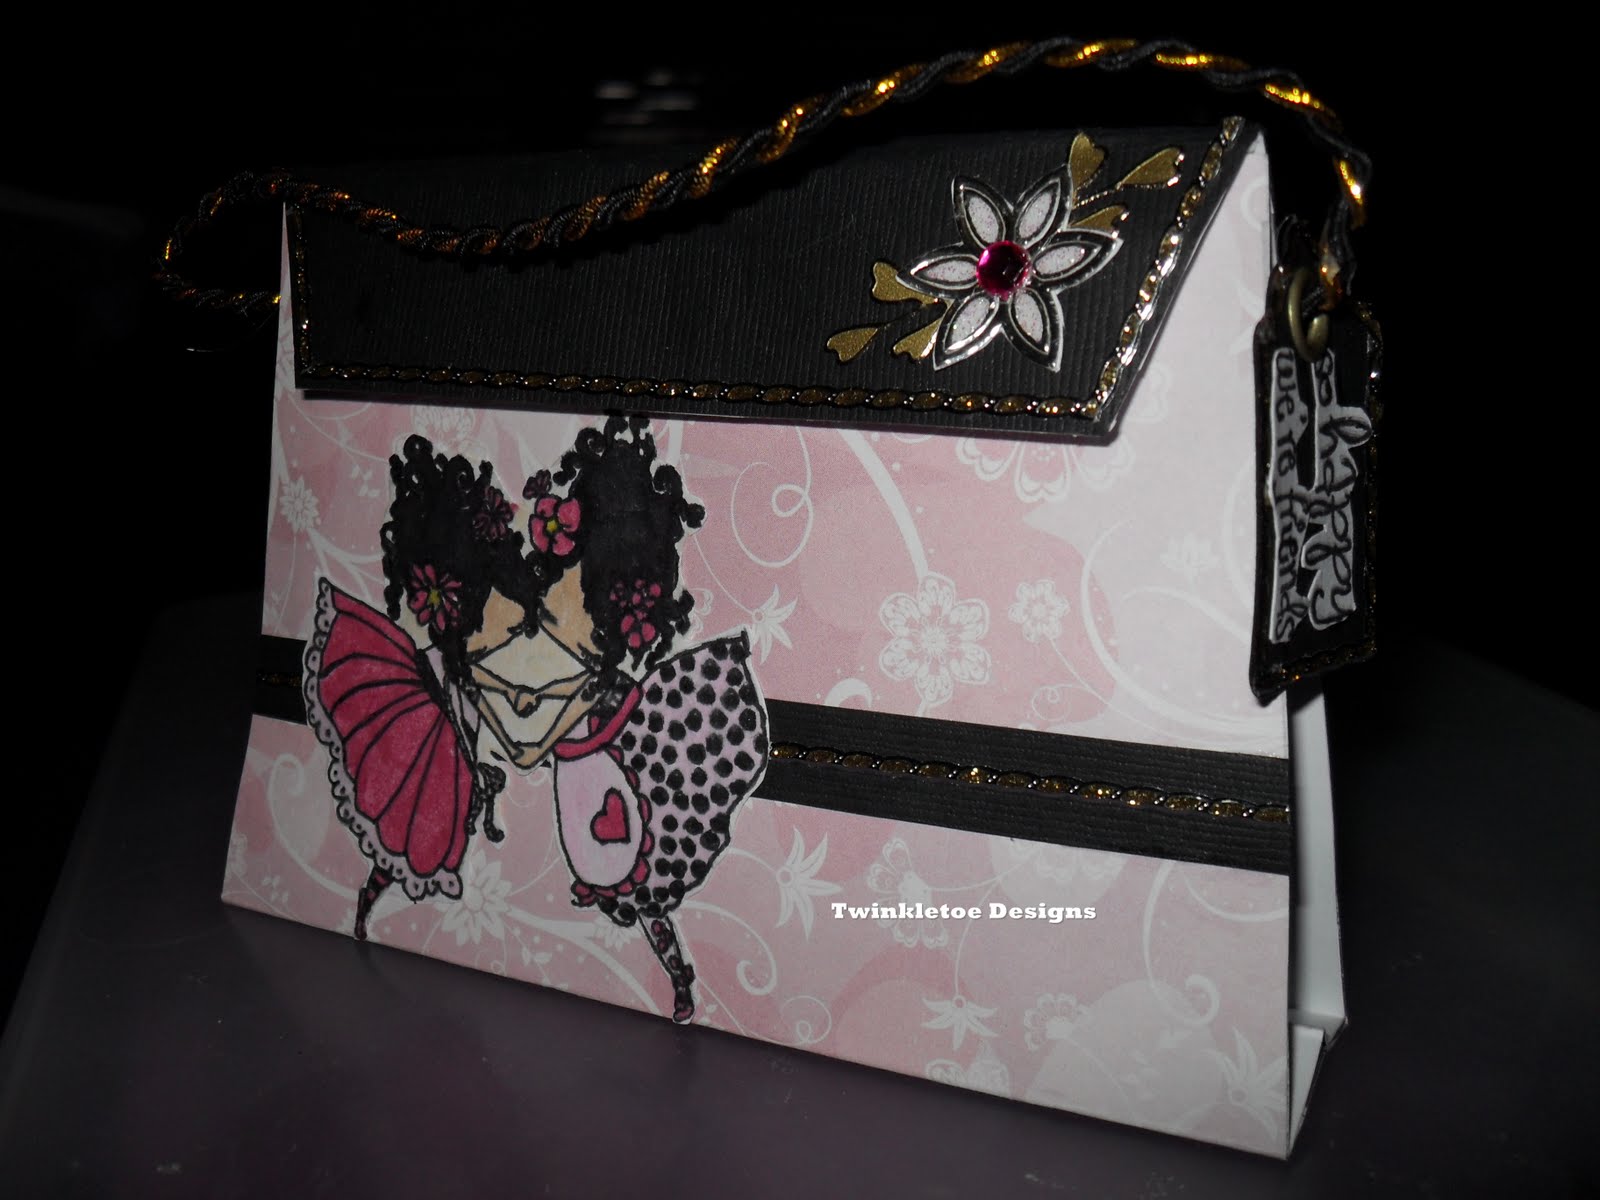
As promised one more gift posting, I have finally finished something different for me, a bag card.
Using the template I have drawn and cut bag from white care, score along the dotted lines as indicated on the template. Mountain fold the third score line down from the top, then valley fold the remaining three score lines. Fold up the botton section of the bag so the gusset section sits on the work surface then bring the top flap over the top of the front of the bag to create the basic bag shape.
Cover the bag by drawing and cutting template from patterned paper. Score and fold as before then wrap around the white bag and glue in place.
Cover the flap at the top of the bag with black card wrapping a little around the back for neatness. Edge the front of the flap with gold decorative border peel-offs as shown.
Cut a 1cm wide strip of black card and fix across the bottom of the front of the bag. Add a decorative border peel-off to the centre of the strip then trim the ends of the border and black card flush with the edges of the bag.
I have then added a stamped image to the front of the bag and coloured in, also I have added a flower peel-off with leaves to the flap of the bag for decoration including a gem stone for the flower centre piece.
I have then cut a tag shape from black card stock, edged with gold border peel-offs and added sentiments, punched a hole in the top of the tag and added 2 pieces of twisted elastic thread for the strap and finally glued to the inside of the back of the bag. I have also added magnetic clasps for the bag flap but you could use velcro.
Inside lefts you plenty of space for sentiments etc.
I do so hope you might give this a try and until next time, take care and happy crafting, lol


Looks Fantastic Shree :o)
ReplyDeleteJackie xx
Gorgeous card Shree
ReplyDeleteHugs Dianne xx :)
Brilliant Shree, really love it.xx
ReplyDelete